
One wrong setting in your export dialog can send an entire print run straight to the trash. Print file errors are a leading cause of costly reprints and production delays in print shops, and most of those errors are entirely preventable. Whether you're running a busy screen printing operation or preparing DTF files for a client, knowing exactly what your output files need to look like is the difference between a smooth job and a scramble. This guide covers file formats, color management, resolution, bleed, and automation so you can build a workflow that delivers consistent, print-perfect results every time.
Table of Contents
- Understanding essential print file formats and standards
- Color management and ICC profiles for accurate prints
- Resolution, bleed, and layout: ensuring technical perfection
- Automation and preflight: streamlining output for teams
- Why consistency beats creativity (when it comes to file standards)
- Automate your print file prep with LayerPrep
- Frequently asked questions
Key Takeaways
| Point | Details |
|---|---|
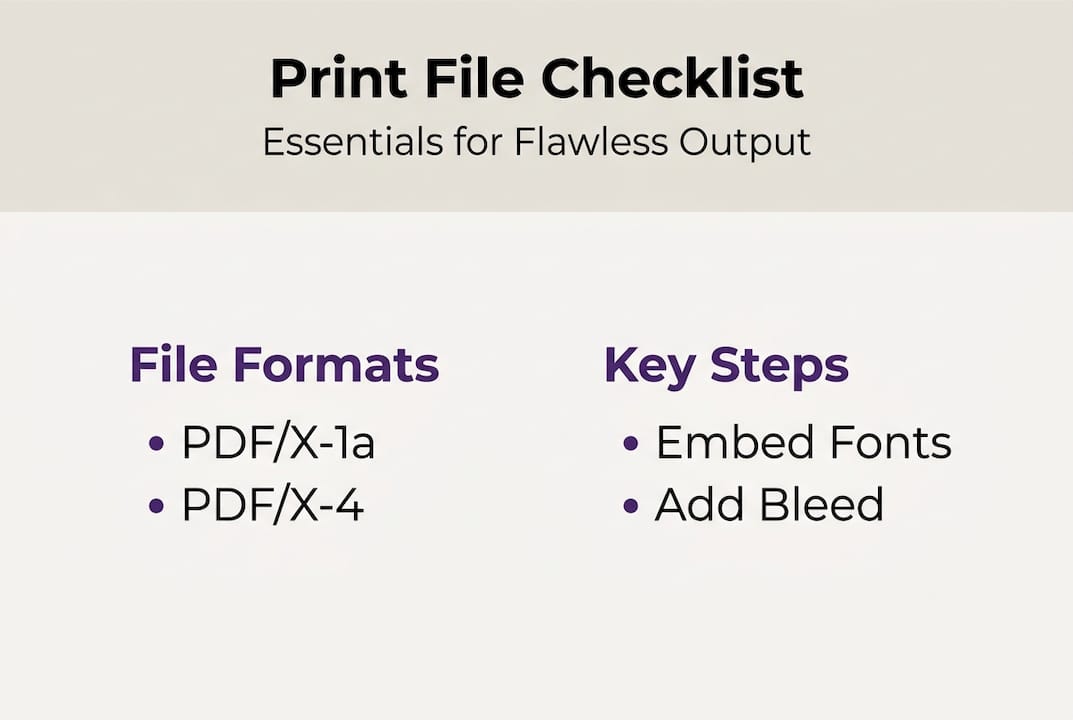
| Use industry-standard PDFs | Always export print files in PDF/X-1a or PDF/X-4 formats with all fonts embedded and no RGB color space. |
| Follow color and ink limits | Convert artwork to CMYK, use correct ICC profiles, and keep total ink coverage under 300% for flawless output. |
| Maintain proper resolution and bleed | Images should be 300 DPI at final size and all designs need a 3mm bleed to prevent white edges. |
| Automate preflight checks | Use automation tools to catch file errors quickly, saving time and reducing costly mistakes. |
Understanding essential print file formats and standards
Every professional print job starts with the right file format. PDF is the industry standard, and for good reason. It preserves fonts, color data, and layout precisely. But not all PDFs are equal. PDF/X standards require CMYK color space, all fonts embedded, no transparency (or flattened), and a PDF/X-1a or PDF/X-4 designation for reliable print exchange.
Here's a quick breakdown of what each standard means for your workflow:
- PDF/X-1a: The strictest option. No RGB, no live transparency, all fonts embedded. Best for legacy RIP workflows and offset printing.
- PDF/X-4: Supports live transparency and modern color management. Preferred for shops using newer prepress systems.
- Standard PDF: Acceptable only if your print provider confirms their system handles it. Risky for color and font consistency.
| Feature | PDF/X-1a | PDF/X-4 | Standard PDF |
|---|---|---|---|
| Fonts embedded | Required | Required | Optional |
| CMYK only | Yes | Yes (with ICC) | No |
| Live transparency | Not allowed | Allowed | Allowed |
| Modern color mgmt | Limited | Full support | Varies |
| Best for | Offset, legacy | Digital, modern | Web only |
Font handling is another area where files break down. All fonts must be embedded before export. If a font is missing or substituted, text reflows or renders incorrectly on press. Note that Type 1 fonts are no longer accepted as of 2023, so switch to OpenType or TrueType across your projects.
Before you export, review your print-ready file checklist to make sure nothing slips through. You can also reference a detailed output specifications guide for format-specific requirements.
For deeper reading on the PDF/X standard details, the PDF Association publishes a clear, accessible breakdown of each version.
Pro Tip: Always save your export preset after configuring it correctly once. Reusing a verified preset eliminates the risk of accidentally exporting with wrong settings on a rushed job.
Color management and ICC profiles for accurate prints
With the file format basics covered, attention to color management ensures your designs look as intended on the final print. Color is where even experienced designers lose time and money. The root cause is almost always the same: RGB artwork exported without conversion to CMYK.
RGB is designed for screens. CMYK is designed for ink on paper. When you send an RGB file to press, the RIP (raster image processor) converts it automatically, and that conversion is rarely flattering. Reds can go muddy, blues can shift purple. Always convert to CMYK in your design application before exporting.
Choosing the right ICC profile is just as important. Fogra39 is the standard for coated stock, and total ink coverage (TAC) should stay at or below 300% to prevent smearing and drying issues.
| ICC Profile | Paper type | TAC limit | Common use |
|---|---|---|---|
| Fogra39 | Coated | 300% | Offset, brochures |
| Fogra47 | Uncoated | 260% | Newsprint, flyers |
| GRACoL 2013 | Coated (US) | 300% | North American offset |
| SWOP v2 | Publication | 300% | Magazine printing |
Here are the core color rules to follow for every file:
- Convert all artwork to CMYK before export, never rely on automatic conversion.
- Assign the correct ICC profile based on your paper stock.
- Keep total ink coverage at or below 300% to avoid press issues.
- Check rich black builds: use 60C/40M/40Y/100K for large black areas, not 100K alone.
Spot colors need special attention. If your design uses Pantone swatches, confirm with your printer whether they want spot colors preserved or converted to CMYK process. Leaving unconverted spot colors in a CMYK job can add unexpected plates and cost.
For more detail on setting up your files correctly, the color profiles guide covers ICC workflows in depth. You can also find color accuracy advice for matching proofs to press output. And if you want to understand how ink coverage in CMYK affects your final result, it's worth a read.
Pro Tip: When working with spot colors in a digital workflow, create a separate swatch group labeled clearly. This makes it easy to audit and convert them before the final export without hunting through layers.
Resolution, bleed, and layout: ensuring technical perfection
Solid color processes are crucial, but resolution and bleed can make or break a print job. These two elements are responsible for more visible print failures than almost anything else.
Resolution defines how sharp your images appear on press. Images must be 300 DPI at the final print size. Scaling an image up in your layout software does not add pixels. A 72 DPI web image placed at 100% and scaled to 200% in InDesign is still 72 DPI at output. Check your effective resolution, not just the native file resolution.
For large format printing (banners, trade show displays), the rules shift. At typical viewing distances, 75 to 150 DPI at final size is acceptable. The key phrase is "at final size." Always confirm the output dimensions before you set up your canvas.
Industry standard bleed definition: Bleed is the area of artwork that extends beyond the trim edge of a printed piece, typically 3mm (0.125 inches) on all sides, ensuring no unprinted edges appear after cutting.
Here's a numbered checklist for setting up your output files correctly:
- Set canvas size to final trim dimensions plus bleed (add 6mm to width and height for 3mm bleed on all sides).
- Set resolution to 300 DPI at actual output size.
- Extend all background artwork and colors into the bleed zone.
- Keep critical text and logos at least 3mm inside the trim line (the safe zone).
- Confirm all images are embedded, not linked.
- Export with crop marks and bleed marks visible.
For a complete walkthrough of print readiness best practices, including substrate-specific tips, that resource covers the full setup process. You can also review common print design mistakes to avoid before submitting files. Additional print preparation tips are available for format-specific guidance.
Pro Tip: Use vector artwork for logos and line art whenever possible. Vectors scale infinitely without resolution loss, which means one file works for a business card and a billboard without any quality compromise.
Automation and preflight: streamlining output for teams
Even with perfect file prep, human error can slip through. Automation is the key to scaling accuracy and speed. Preflight software checks every file against a defined set of standards before it reaches the press operator. It catches missing fonts, wrong color spaces, low resolution images, and missing bleed automatically.
Automation tools like Enfocus PitStop and callas pdfToolbox can reduce prepress time from 45 minutes to just 3 minutes per job. That's not a marginal improvement. For a shop processing 20 jobs a day, that's hours of labor recovered every single day.
Here's what the best preflight and automation tools do:
- Check color space and flag RGB or spot color issues.
- Verify font embedding and flag missing or substituted fonts.
- Confirm bleed dimensions and alert when artwork falls short.
- Validate image resolution and flag anything below 300 DPI.
- Auto-correct fixable issues like wrong page size or missing ICC profiles.
| Tool | Key feature | Best for |
|---|---|---|
| Enfocus PitStop | Action lists, auto-fix | High-volume offset shops |
| callas pdfToolbox | PDF validation, repair | Prepress automation |
| Acrobat Pro preflight | Built-in, accessible | Small shops, freelancers |
| LayerPrep | AI color sep, DPI check | Screen printing, DTF |
For teams running web-to-print operations, automation is not optional. It's the only way to maintain quality at volume without adding headcount. Explore how to optimize print workflow for faster, error-free production. You can also learn how to streamline print process for digital artwork and find guidance on efficient print design workflows for your team. For a broader look at available solutions, this roundup of prepress automation software covers the leading options.
Pro Tip: Integrate your preflight automation into the file upload step of your web-to-print portal. Catching errors at submission means clients fix problems before they reach your production queue, not after.
Why consistency beats creativity (when it comes to file standards)
Here's an uncomfortable truth: the most creative design in your portfolio means nothing if the file fails preflight. We've seen stunning artwork get rejected because a designer prioritized visual complexity over technical compliance. That's not a creative win. It's a production loss.
Many creative teams treat file standards as a constraint on their work. We'd argue the opposite. Standardization is what gives you the freedom to be creative. When your output process is locked down and repeatable, you spend less time troubleshooting and more time designing.
The print shops that scale are the ones with rock-solid, standardized workflows. Consistent file output reduces reprints, builds client trust, and lowers per-job costs over time. Clients notice when jobs come back right the first time, every time. That reliability becomes your reputation.
Understanding the role of design files in your broader printing workflow helps frame why standards matter beyond simple compliance. It's a competitive advantage, built one correctly exported file at a time.
Automate your print file prep with LayerPrep
If you're ready to reduce errors, cut manual checks, and guarantee print-perfect files every time, here's how LayerPrep can help.
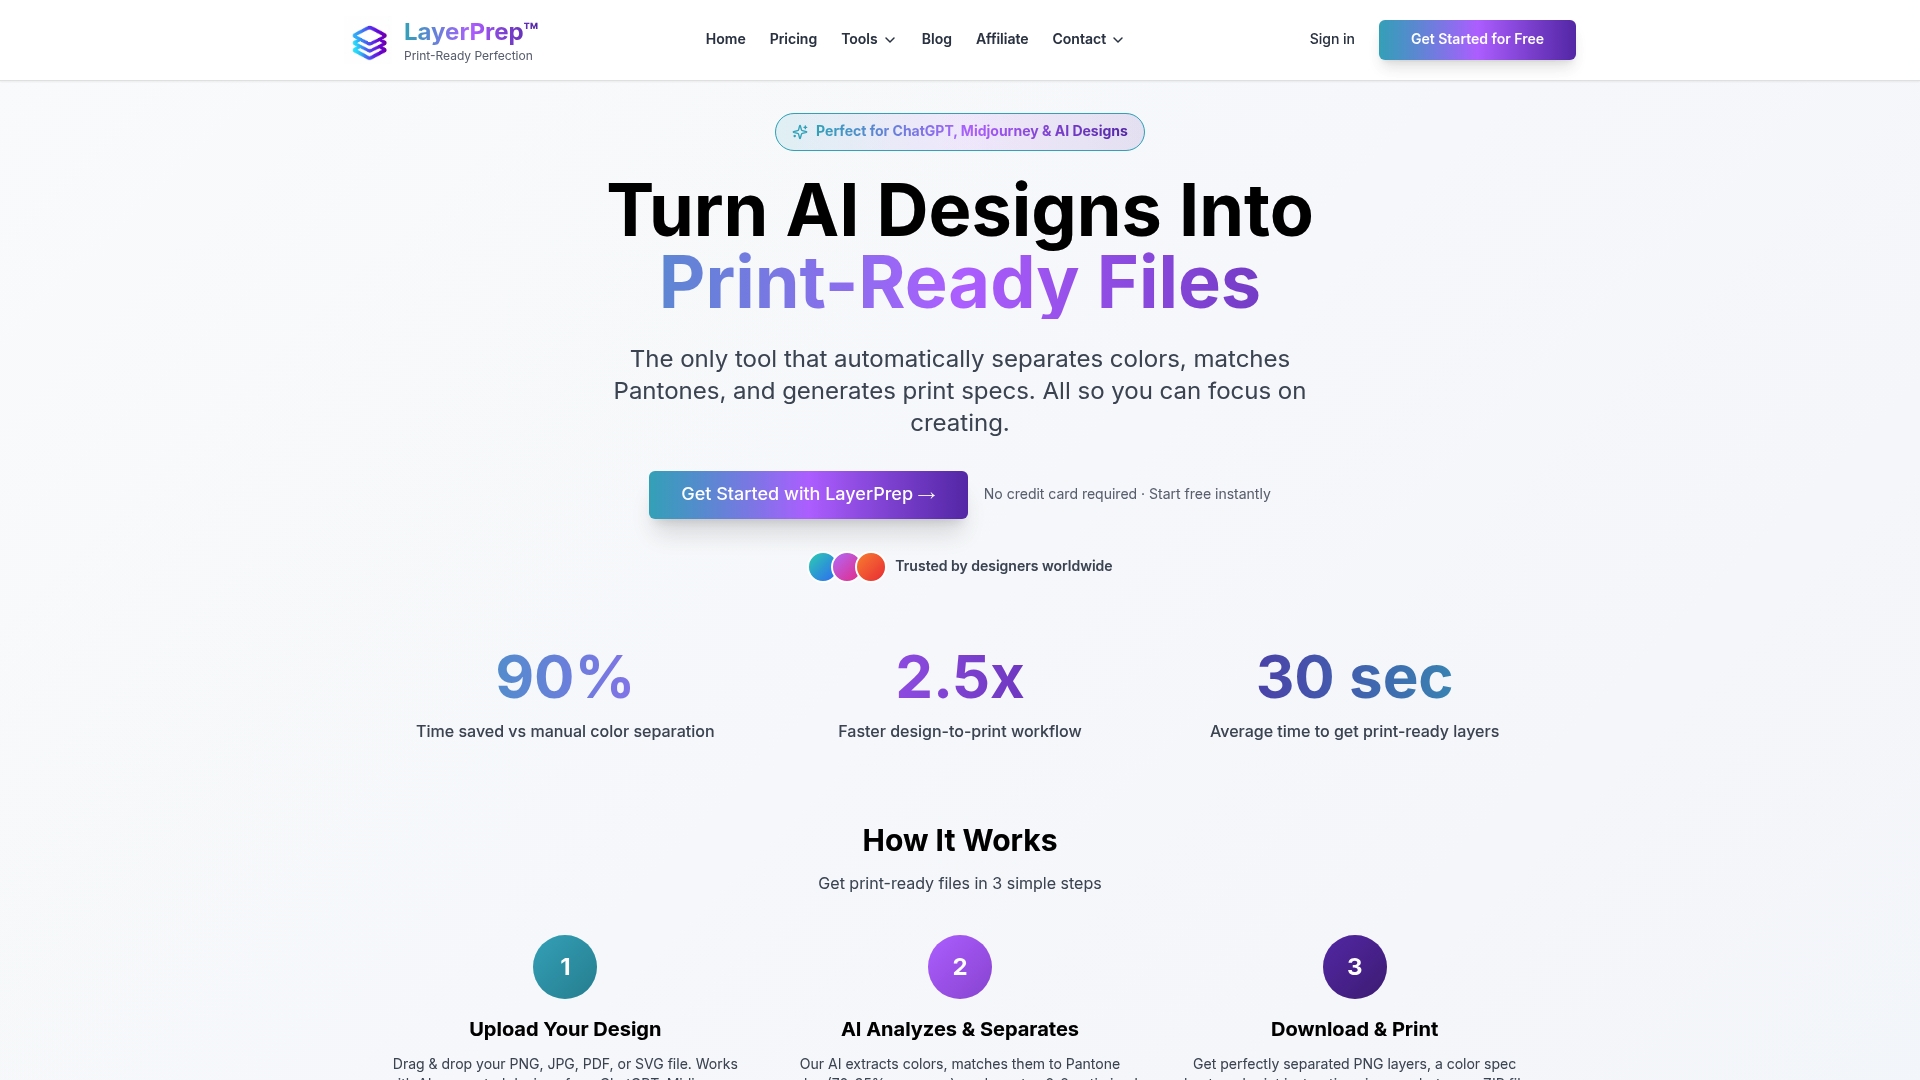
LayerPrep automates the most time-consuming parts of print file preparation. It handles color separation, Pantone matching with 70 to 95% accuracy, DPI validation, and bleed checks automatically. Files are processed in an average of 30 seconds, and it accepts PNG, JPG, PDF, and SVG formats up to 50MB. Whether you're prepping screen printing separations or DTF-ready layers, LayerPrep fits directly into your existing workflow. Start with the design file checklist to see exactly what print-ready looks like, then let LayerPrep handle the rest.
Frequently asked questions
What PDF standard is best for print file output?
PDF/X standards ensure reliable print exchange. PDF/X-1a is the safest choice for most print jobs because it enforces strict CMYK and font embedding rules, while PDF/X-4 supports transparency and modern color management if your print provider's system allows it.
What is the minimum image resolution for high-quality prints?
Images must be 300 DPI at the final print size for standard jobs. Large format printing is the exception, where 75 to 150 DPI at viewing distance is acceptable, and vector artwork scales infinitely without any resolution concerns.
Why is bleed important in print file setup?
A 3mm bleed on all sides (0.125 inches) ensures that minor cutting variation during production doesn't leave unwanted white edges on your finished piece. Without bleed, even a small shift on the cutter creates a visible gap.
How do automation tools help with print file standards?
Preflight automation tools like Enfocus PitStop and callas pdfToolbox check every file against defined standards and reduce manual prepress time from 45 minutes to as little as 3 minutes per job, catching errors before they reach production.