Submitting design files without proper validation costs print shops thousands in wasted materials and delays every year. Digital and AI-generated artworks introduce unique complexities that demand systematic verification before production begins. This comprehensive checklist guides print shop owners and graphic designers through essential validation steps, ensuring every file meets professional standards. Whether you're working with traditional digital designs or AI-generated art from platforms like Midjourney, following these proven criteria eliminates costly errors and streamlines your workflow from concept to final print.
Table of Contents
- Key takeaways
- Essential criteria for print-ready design files
- Managing layers, bleed, and fonts effectively
- Print validation checklist: final checks before submission
- Comparing design file preparation methods for print
- Streamline your print file preparation with LayerPrep
- Frequently asked questions
Key Takeaways
| Point | Details |
|---|---|
| File formats and resolution | Use industry standard formats such as PDF/X, TIFF, or EPS and ensure raster images are 300 dpi or higher to prevent quality issues. |
| Color management | Convert all artwork to CMYK and embed ICC profiles to maintain consistent colors across devices. |
| Layer and bleed discipline | Name layers descriptively, remove hidden or unused layers, and include a minimum 0.125 inch bleed beyond the trim. |
| AI and digital guidance | Validate AI generated elements for color accuracy and proper element separation before production. |
Essential criteria for print-ready design files
Establishing the right foundation for your print files determines whether production runs smoothly or grinds to a halt with technical rejections. Proper file format and resolution choices prevent print quality issues that waste materials and delay deadlines. Start by selecting formats that preserve all design elements without compression artifacts or compatibility problems.
PDF/X formats lead the industry standard for print submission because they embed fonts, flatten transparency, and lock color profiles automatically. TIFF files work well for high-resolution images requiring lossless compression, while EPS remains valuable for vector artwork needing scalability. Avoid using native design software formats like PSD or AI files unless your print provider specifically requests them, as these can cause unexpected rendering issues.
Resolution directly impacts print sharpness and detail reproduction. Set all raster images to 300 dpi minimum for professional output quality. Lower resolutions create pixelated, blurry prints that look unprofessional and fail quality control. Vector elements can scale infinitely, but any embedded raster components still need proper resolution verification.
Color mode selection separates amateur submissions from professional files. CMYK color mode matches the four-ink printing process used by commercial presses, ensuring colors reproduce accurately on paper. RGB files designed for screens contain colors outside the printable gamut, leading to disappointing color shifts and mismatched expectations. Always convert designs to CMYK before final export, and embed ICC color profiles to maintain consistency across different devices and presses.
Pro Tip: Always flatten layers if the printing process does not support complex files. Many production workflows cannot handle live effects, adjustment layers, or transparency blending modes. Flattening eliminates these variables and guarantees your design prints exactly as you see it on screen.
Managing layers, bleed, and fonts effectively
Internal file structure determines whether your design translates cleanly to physical output or creates production headaches. Proper management of layers and fonts prevents missing elements and errors at print time. Organizing these components systematically saves troubleshooting time and reduces last-minute file corrections.
Layer organization starts with logical naming conventions that clearly identify each element's purpose. Name layers descriptively like "background-texture" or "logo-white" instead of generic "Layer 1" labels. Delete hidden or unused layers that bloat file size and create confusion during production. Print operators should instantly understand your file structure without guessing which elements belong in the final output.
Bleed specifications prevent the dreaded white edge problem that ruins otherwise perfect prints. Include a minimum 0.125 inch bleed extending beyond trim lines on all sides. This safety margin accounts for slight shifts during cutting, ensuring background colors and images reach the paper edge. Designs without proper bleed show white slivers when trimming tolerances vary even slightly.
Font handling causes more production delays than almost any other technical issue. Embed fonts directly in PDF files or outline all text to convert characters into vector shapes. Missing fonts force printers to substitute alternatives that change spacing, line breaks, and overall design appearance. Outlining eliminates font dependencies entirely, though it prevents future text editing.
Pro Tip: Use consistent naming conventions for layers to aid print workflow. Establish a standard system across all projects so team members and print partners immediately understand file organization. This simple practice dramatically reduces communication errors and speeds up production approvals.
Check text and logo placement relative to trim edges carefully. Keep important elements at least 0.25 inches inside the trim line to avoid accidental cutoff. Design elements placed too close to edges risk getting partially removed during finishing, especially on projects with tight trimming tolerances or multiple finishing steps.
Print validation checklist: final checks before submission
Systematic validation catches errors before they become expensive production problems. Systematic print validation significantly cuts down errors and costly reprints by addressing common issues proactively. Following this numbered sequence ensures comprehensive coverage of all critical file components.
- Verify image resolution meets 300 dpi minimum for all raster elements
- Confirm CMYK color mode with embedded ICC profiles throughout the document
- Check that all fonts are embedded or outlined with no missing typefaces
- Validate bleed extends 0.125 inches beyond trim on all sides
- Remove hidden layers, unused swatches, and extraneous file elements
- Confirm file dimensions match final trim size specifications exactly
- Review safe zones to ensure no critical content sits near trim edges
- Flatten transparency and live effects that could render inconsistently
- Verify file size remains manageable for upload and processing systems
- Generate a final PDF proof for visual comparison against original design
AI-generated artwork requires extra scrutiny for unintended transparency or unexpected color variations. These designs sometimes contain subtle gradients or color shifts invisible on screen but problematic in print. Zoom to 100% and examine edges, shadows, and transition areas carefully for artifacts or transparency issues that could cause registration problems.
Cross-reference your original design intent with the final PDF proof to catch glitches introduced during export. Colors may shift, fonts might reflow, or effects could render differently than expected. This comparison step identifies problems while you can still fix them, rather than discovering issues after printing begins.
| Common Print Error | Validation Step to Prevent It | Impact if Missed |
|---|---|---|
| Low resolution images | Check all raster elements at 300 dpi | Blurry, pixelated output |
| RGB color mode | Verify CMYK conversion completed | Color shifts and mismatches |
| Missing fonts | Embed or outline all typefaces | Text substitution, spacing changes |
| Insufficient bleed | Confirm 0.125 inch extension | White edges after trimming |
| Oversized file | Compress images, remove unused elements | Upload failures, processing delays |
| Hidden layers printing | Delete unused layers before export | Unexpected elements appearing |
Validation takes minutes but prevents hours of rework and material waste. Build these checks into your standard workflow so they become automatic rather than optional. Consistent validation practices separate professional operations from amateur submissions that create production bottlenecks.
Comparing design file preparation methods for print
Different approaches to file preparation offer varying balances of speed, accuracy, and required expertise. Different design file workflows offer trade-offs in efficiency, flexibility, and error risk. Understanding these options helps you select the method matching your volume, complexity, and quality requirements.
| Preparation Method | Speed | Error Risk | Skill Level Required | Best For |
|---|---|---|---|---|
| Manual checking | Slow | High | Expert | Low volume, simple designs |
| Automated tools | Fast | Low | Intermediate | High volume, consistent formats |
| AI-assisted workflows | Very fast | Very low | Beginner to intermediate | Complex designs, AI-generated art |
| Hybrid approach | Moderate | Low | Intermediate | Variable complexity projects |
Manual file preparation gives complete control over every design element and decision. Experienced designers can optimize files precisely for specific printing methods and materials. However, this approach consumes significant time and remains vulnerable to human oversight errors, especially under deadline pressure or when handling repetitive tasks.
Automated validation tools scan files against predefined criteria, flagging issues like low resolution, missing bleed, or incorrect color modes instantly. These systems process files in seconds and maintain consistent quality standards across all submissions. The trade-off involves less flexibility for unusual design requirements or specialized printing techniques requiring custom handling.
AI-assisted workflows combine automation with intelligent color matching and layer separation capabilities. These systems excel at processing digital artwork from varied sources, including AI-generated designs that may contain unexpected color variations or transparency issues. Advanced tools analyze design intent and automatically optimize files for specific printing methods.
Key considerations when selecting your file preparation method:
- Production volume and frequency of similar file types
- Design complexity and variety of artwork sources
- Available staff expertise and training investment
- Budget for software tools versus labor time costs
- Quality consistency requirements across projects
- Turnaround time expectations from clients
- Integration needs with existing design software
Hybrid approaches often deliver the best results by combining automated validation with expert review for complex or high-value projects. Use automation to handle routine checks and flag potential issues, then apply human judgment to resolve ambiguous situations or optimize files for specific printing conditions. This balanced method maximizes efficiency while maintaining quality control where it matters most.
Streamline your print file preparation with LayerPrep
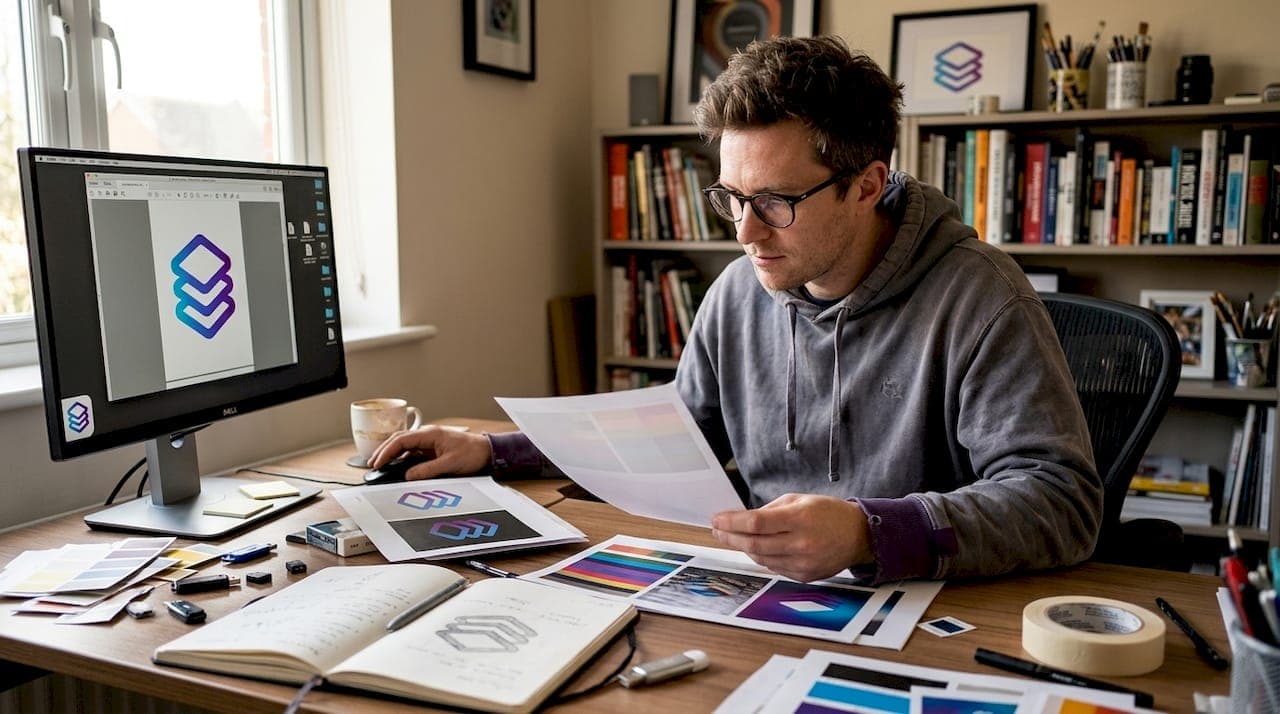
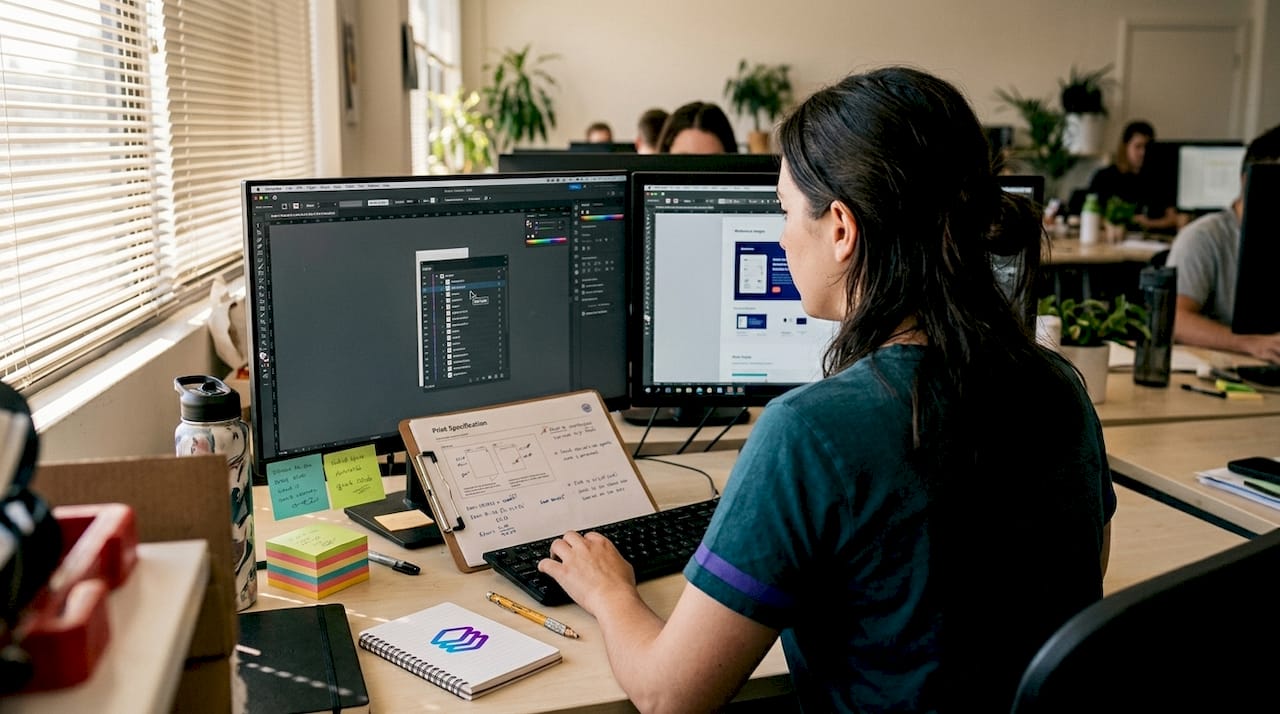
Preparing flawless print files shouldn't consume hours of manual checking and corrections. LayerPrep automates the critical validation steps covered in this checklist, delivering print-ready files in an average of 30 seconds. The platform handles everything from color separation and Pantone matching to DPI validation and bleed verification.
Designed specifically for print shops and graphic designers working with digital and AI-generated artwork, LayerPrep supports complex gradients and files up to 50MB. The AI-powered system achieves 70-95% color matching accuracy while automatically separating layers for screen printing, DTF, and other production methods. This eliminates the tedious manual work of preparing designs while reducing costly errors that delay production. Whether you're processing traditional digital designs or AI-generated art from platforms like ChatGPT or Midjourney, LayerPrep integrates smoothly into your existing workflow and scales from individual designers to full production teams.
Frequently asked questions
What is the best file format for print-ready artwork?
PDF/X formats are preferred for print due to standardized settings that embed fonts, flatten transparency, and lock color profiles automatically. TIFF works well for high-resolution photographic images, while EPS remains valuable for vector artwork requiring scalability. Always verify your print provider's specific format requirements, as some specialized printing methods may have unique preferences.
How do I check color accuracy for AI-generated print designs?
Calibrate your monitor regularly and work in CMYK color mode throughout the design process to preview how colors will reproduce in print. Use calibrated monitors, CMYK previews, and test prints to ensure colors match expectations. AI-generated artwork often contains RGB colors or subtle gradients that shift unexpectedly when converted to CMYK, so always perform test prints before committing to full production runs.
What common print file errors can a checklist help prevent?
A checklist helps catch missing fonts, incorrect color mode, insufficient bleed, and low resolution before files reach production. These issues cause the majority of print delays and material waste. Font embedding problems rank among the most frequent errors, followed by improper bleed specifications that result in white edges after trimming. Systematic validation eliminates these costly mistakes and keeps production schedules on track.
How can print shops integrate a design file checklist efficiently?
Integrate checklist steps into digital workflows using automation tools and team training for consistent results. Digital checklist tools that integrate with design software provide real-time validation as designers work, catching errors before export. Train all staff on checklist importance and standard procedures to ensure consistent application across projects. Automated systems handle routine validation while freeing experienced staff to focus on complex design optimization and client communication.