
Every print shop owner knows the feeling. A client sends over a file, it looks fine on screen, and then the press run reveals missing bleeds, wrong color modes, or fonts that never made it into the final output. Waste and rework account for 10-15% of production costs without standard workflows. That is real money leaving your shop on every chaotic job. This guide walks you through a proven, step-by-step print workflow, from file intake to press-ready output, so you can cut errors, save time, and deliver consistent results every single time.
Table of Contents
- What you need for a streamlined print workflow
- Step-by-step print workflow: From design to print-ready
- Integrating automation for faster, error-free results
- Expert-level considerations: Handling special cases and nuanced jobs
- Troubleshooting and continuous improvement: Common mistakes and optimization habits
- How LayerPrep can help automate your print workflow
- Frequently asked questions
Key Takeaways
| Point | Details |
|---|---|
| Streamlined workflow cuts waste | Stepwise print workflows and automation reduce costly errors and production waste. |
| Automate routine, validate the rest | Automate repetitive steps for speed and efficiency, but use human checks for complex jobs. |
| Standardization boosts consistency | Templates, PDF/X and SOPs dramatically cut mistakes and workflow friction. |
| Track KPIs for improvement | Monitoring reprint rates and first-pass yield pinpoints areas for workflow upgrades. |
What you need for a streamlined print workflow
To prepare for the workflow, let's outline what you'll need. Getting organized before the first file arrives is what separates efficient shops from reactive ones.
Essential tools and assets
You need the right hardware and software in place before you can automate anything. Here is a quick breakdown:
| Category | Examples |
|---|---|
| RIP software | Caldera, Wasatch, EFI Fiery |
| Imposition tools | Preps, Quite Imposing |
| Proofing solutions | Epson proofing printers, digital soft proofs |
| File formats | PDF/X-1a, PDF/X-4 |
| Color profiles | ICC profiles, Pantone libraries |
Beyond software, you need standardized templates, clear standard operating procedures (SOPs), and a consistent file format policy. Standardization using PDF/X, templates, and SOPs reduces errors by 50 to 78%. That is not a marginal gain. That is a fundamental shift in how reliably your shop operates.
Understanding the role of design files in your overall process helps you set the right expectations with clients from day one.
Your pre-production asset checklist
Before any job enters the workflow, verify these items:
- Fonts embedded or outlined
- Images at 300 DPI minimum
- Color mode set to CMYK (or spot colors confirmed)
- Bleed of at least 0.125 inches on all sides
- Correct ICC color profile attached
- File saved as PDF/X or approved format
Use a design file checklist to make this repeatable. Pair it with a print readiness guide so your team always knows what "ready" actually means.
KPIs worth tracking from the start
Set a baseline for two key metrics: reprint rate and first-pass yield. These numbers tell you exactly where your workflow is leaking time and money. Track them weekly.
Pro Tip: Build your asset checklist into your client intake form. Catching missing fonts or wrong color modes before the file even enters your queue saves hours downstream.
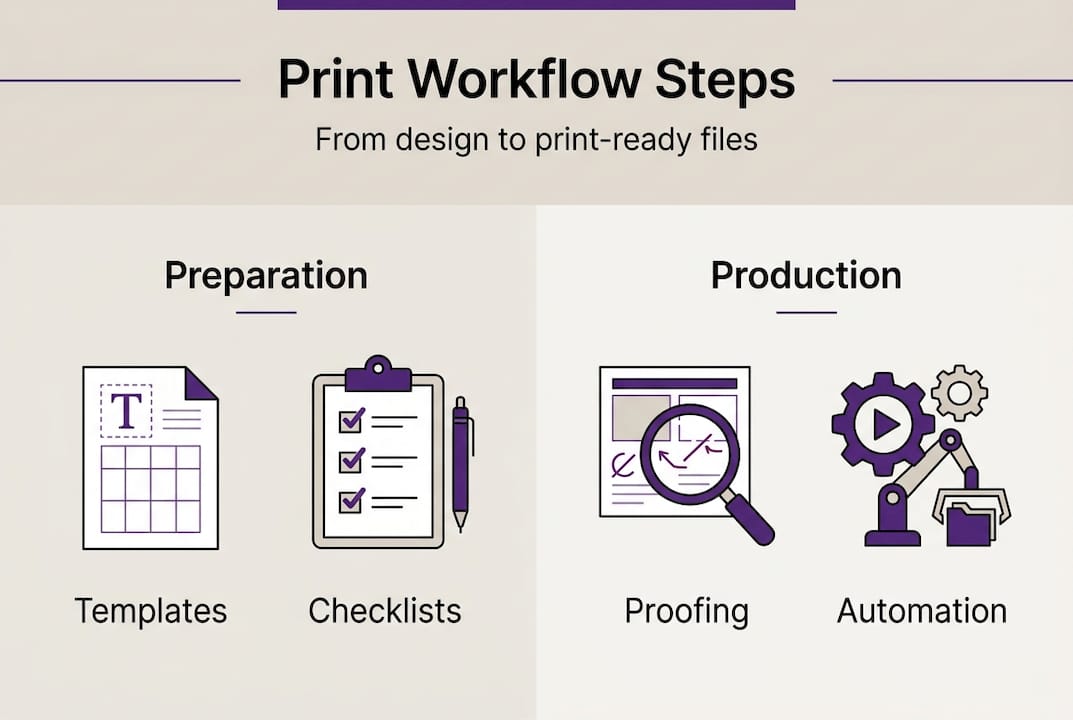
Step-by-step print workflow: From design to print-ready
Once you have your tools and templates, it's time to follow the workflow, step by step. Each stage below moves a digital file closer to a finished, press-ready state.
The prepress workflow stages follow a logical sequence that experienced shops have refined over decades. Here is how it breaks down:
- File intake and preparation. Collect files from clients, rename them consistently, and convert everything to PDF/X. Standardize folder structures so any team member can pick up a job.
- Preflight checks. Verify resolution (300 DPI minimum), embedded fonts, correct color mode, and bleed specifications. Flag any issues before touching the file further.
- Image and color optimization. Convert RGB images to CMYK. Set rich blacks correctly (typically C60 M40 Y40 K100 for large areas). Confirm spot colors match your Pantone library.
- Proofing. Run a digital soft proof first. For color-critical jobs, produce a hard proof on the actual substrate. Get client sign-off before moving forward.
- Imposition. Arrange pages for the press sheet. Account for creep on saddle-stitched booklets. Maximize sheet usage to reduce paper waste.
- RIP processing. Send the imposed file through your Raster Image Processor (RIP), which converts vector and image data into a format the press or printer can read.
- Plate making or direct output. For offset, burn plates. For digital, send directly to the press. Confirm registration marks and color bars are in place.
- Press run with quality control. Pull press checks at startup. Monitor color density throughout the run. Document any deviations.
The standard print workflow covers intake through press QC as a connected sequence, not a series of isolated tasks. When you treat it as one system, errors get caught earlier and fixes cost less.
"Automation reduces manual prep from 15 to 30 minutes per job to just seconds, delivering 50% faster turnaround."
That kind of speed gain is achievable when you follow efficient print workflows and use tools that handle repetitive checks automatically. You can also optimize your print workflow further by mapping where manual steps are slowing you down.

Pro Tip: At the proofing stage, always proof on the actual paper stock when color accuracy is critical. Screen proofs look different on coated versus uncoated stock.
For designers working with AI-generated artwork, the digital artwork print process requires extra attention at the color optimization and preflight stages.
Integrating automation for faster, error-free results
Now that you've seen the manual steps, let's look at when and how to add automation. Not every task benefits equally from automation, and knowing the difference is key.
What to automate
- Preflight checks and automatic file fixing
- Job routing based on file type or product category
- Imposition for standard products (business cards, flyers, booklets)
- Color separation and Pantone matching
- DPI validation and bleed verification
When to keep human review
- Variable data printing (VDP) with complex field mapping
- Jobs with special finishes like spot UV or foil stamping
- First-run hard proofs for color-critical clients
- Any job with unusual substrates or custom specifications
The automation ROI for print shops averages 300%, with 50% less prepress labor and 78% fewer touchpoints per job. Those numbers reflect what happens when automation is integrated as a system, not bolted on as an afterthought.
A common pitfall is creating "islands of automation," where one tool automates preflight but does not connect to your job routing or RIP software. The result is manual handoffs that cancel out your time savings. System integration matters as much as the tools themselves.
The automation benefits for print go beyond speed. Fewer touchpoints mean fewer chances for human error. And when you track print production KPIs consistently, you can see exactly where automation is delivering value and where gaps remain.
Pro Tip: Aim for a hybrid model. Automate 80% of routine tasks and reserve 20% for human oversight on complex or high-value jobs. This balance keeps quality high without slowing throughput.
For a deeper look at building faster, error-free production, map your current workflow and identify the three steps that consume the most manual time. Those are your automation priorities.
Expert-level considerations: Handling special cases and nuanced jobs
Automation covers most cases, but certain jobs benefit from specialized attention. These are the situations where a generic workflow falls short.
Variable data printing (VDP)
VDP jobs require careful field mapping. Every variable field, whether a name, address, or personalized image, must be linked correctly to your data source. A single mapping error can corrupt an entire print run. Always run a small test batch before committing to full production.
Packaging and dielines
Packaging files need accurate dielines (the cut and fold lines for the finished package). Imposition for packaging must account for finishing equipment tolerances. A misaligned dieline can make an entire run unusable.
Special finishes
Spot UV, foil stamping, and embossing each require a separate layer in the file. These layers must be clearly labeled and set to the correct overprint settings. Sending a file without a dedicated finish layer is one of the most expensive mistakes in specialty printing.
"VDP needs field mapping; packaging requires dielines; special finishes use extra layers; safety margin minimum 0.25 inches."
Always maintain a minimum safety margin of 0.25 inches between live content and the trim edge. This protects critical text and logos from being cut off during finishing. Review the details of prepress production to understand how these considerations fit into the broader press preparation process.
For complex jobs, use a design validation process to catch issues before they reach the press. And if you want to prevent the most common problems upfront, reviewing how to avoid print design mistakes is time well spent.
Troubleshooting and continuous improvement: Common mistakes and optimization habits
Mistakes are inevitable, but with good processes, you can spot and fix them early. The goal is to catch errors at the cheapest possible stage.
Most frequent file prep mistakes
- Missing or insufficient bleed (less than 0.125 inches)
- Files submitted in RGB instead of CMYK
- Fonts not embedded or outlined
- Images below 300 DPI
- Incorrect or missing ICC color profiles
- Overprint settings not checked
Reviewing proofs carefully is your last line of defense. Look for color shifts, text reflow, and any element that appears cut off or misaligned. Document every issue you find and trace it back to the workflow stage where it originated.
"Track KPIs like reprint rate and first-pass yield for continuous improvement."
Set a monthly review of your reprint rate and first-pass yield. If your reprint rate climbs above 3%, investigate which job types are causing it. If first-pass yield drops, look at your preflight and proofing stages first.
SOPs should not be static documents. Update them every time you discover a new failure mode. The print workflow challenges that shops face evolve as technology and client expectations change, so your processes need to keep pace.
Pro Tip: Use your print validation guide as a living document. Add new checks whenever a recurring error surfaces. A checklist that grows with your experience is far more valuable than a generic template.
Routine tool updates matter too. Outdated RIP software or color profiles can introduce errors that are nearly impossible to trace. Schedule quarterly reviews of your software versions and ICC profile libraries.
How LayerPrep can help automate your print workflow
With a proven workflow and automation strategy in place, you're ready to put the right technology to work. That's where LayerPrep fits in.
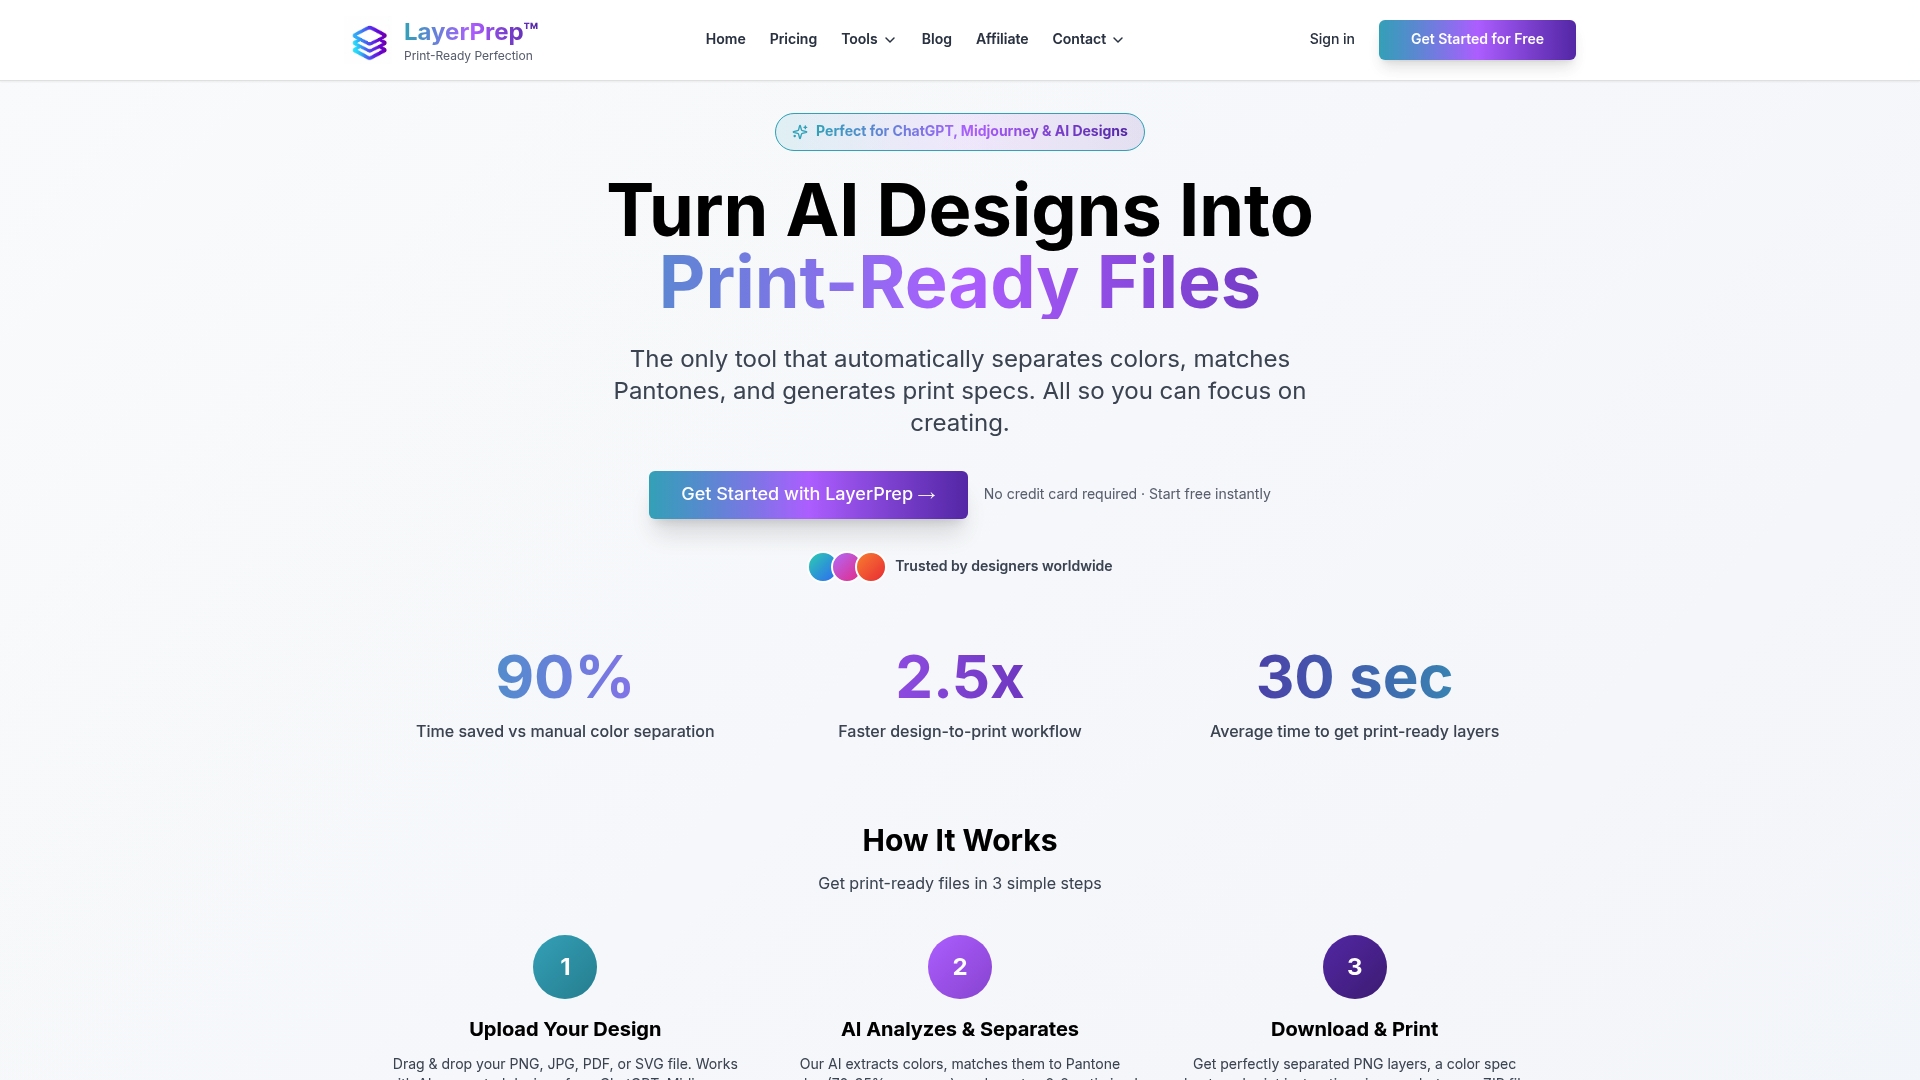
LayerPrep is an AI-powered tool built specifically for print shops and graphic designers. It automates the most time-consuming steps in your workflow: color separation, Pantone matching (with 70 to 95% accuracy), DPI validation, and bleed checking. It accepts PNG, JPG, PDF, and SVG files up to 50MB and returns print-ready layers in an average of 30 seconds. Whether you're working with traditional digital artwork or AI-generated designs from tools like Midjourney, LayerPrep handles the technical prep so you can focus on production. It supports screen printing, DTF, and other methods, making it a practical fit for shops of any size. Explore LayerPrep's automation features and see how quickly your workflow can improve.
Frequently asked questions
What is preflight in a print workflow?
Preflight checks verify that files meet technical specs, such as resolution, fonts, color, and bleed, before moving to production. Catching these issues early prevents costly press errors.
How much time can automation save in a print workflow?
Automation cuts manual prep from 15 to 30 minutes per order down to seconds, resulting in 50% faster project turnaround across the board.
What are the most common errors in print file prep?
Missing bleeds, color errors, and font issues are the most frequent problems. Addressing these at intake prevents the majority of reprints.
When is manual workflow a better choice than automation?
Manual is best for low-volume or highly customized jobs where automation adds little value. High-mix, short-run work benefits most from automated systems.
Which software standards should print files follow?
PDF/X is the recommended format for standardized print workflows, ensuring consistency across platforms and presses regardless of the originating software.