A file labeled "print-ready" can still be a minefield. Fonts may not be embedded, bleed might be missing, and colors that look perfect on your monitor can shift dramatically on press. Proofing is the last line of defense between your design and a costly reprint. Yet many print shops and designers treat it as a formality rather than a critical quality gate. This guide breaks down the core methodologies, the most dangerous edge cases, and the expert tactics that separate shops with tight margins from those constantly eating reprint costs.
Table of Contents
- Understanding print file proofing: Definition and importance
- Key methodologies in file proofing: Preflight, soft, and hard proofing
- Common challenges and edge cases in print file proofing
- Integrating AI and automation for faster, foolproof results
- Best practices for seamless print file proofing and approval
- Our take: Why rigorous proofing isn't optional — it's your brand's defense
- Take the next step: Effortless proofing with LayerPrep
- Frequently asked questions
Key Takeaways
| Point | Details |
|---|---|
| Proofing is essential | Skipping or rushing print file proofing can lead to costly mistakes and reprints. |
| Know your proof types | Preflight, soft, and hard proofing have distinct strengths and choosing the right method saves time and money. |
| Handle color carefully | Accurate color management and calibration prevent major proofing headaches. |
| Leverage automation wisely | AI-driven proofing detects common errors quickly but still benefits from expert oversight. |
| Approval is a contract | Treat proof approval as binding to protect both your business and client relationships. |
Understanding print file proofing: Definition and importance
Print file proofing is the process of verifying a digital file before it ever touches a press. It checks that your file matches the required specs: correct resolution, proper color mode, embedded fonts, accurate bleed, and visual correctness. Think of it as a final audit before committing to production.
Why does it matter so much? Because mistakes caught after printing are expensive. A single reprint job can wipe out the profit from several successful orders. Proofing protects both the print shop and the client from that outcome.
Understanding print readiness explained is the foundation. A file can pass a basic visual check and still fail on press. Common errors that slip through include:
- Unembedded fonts that substitute on output
- Color mode mismatches (RGB files sent to a CMYK press)
- Missing or insufficient bleed causing white edges after trimming
- Low resolution images that look sharp on screen but print blurry
- Transparency issues that flatten incorrectly during RIP processing
One principle every shop should internalize: proof approval transfers responsibility and should be treated as a contract to avoid costly reprints.
Proof approval is a contractual moment. Once a client signs off on a proof, responsibility for the approved content shifts to them. Document every approval in writing. This protects your shop legally and sets clear expectations from the start.
Modern AI-driven proofing tools reduce the manual workload significantly. They catch technical errors automatically, freeing your team to focus on judgment calls that require a human eye. But the foundation is always the same: verify before you print.
Key methodologies in file proofing: Preflight, soft, and hard proofing
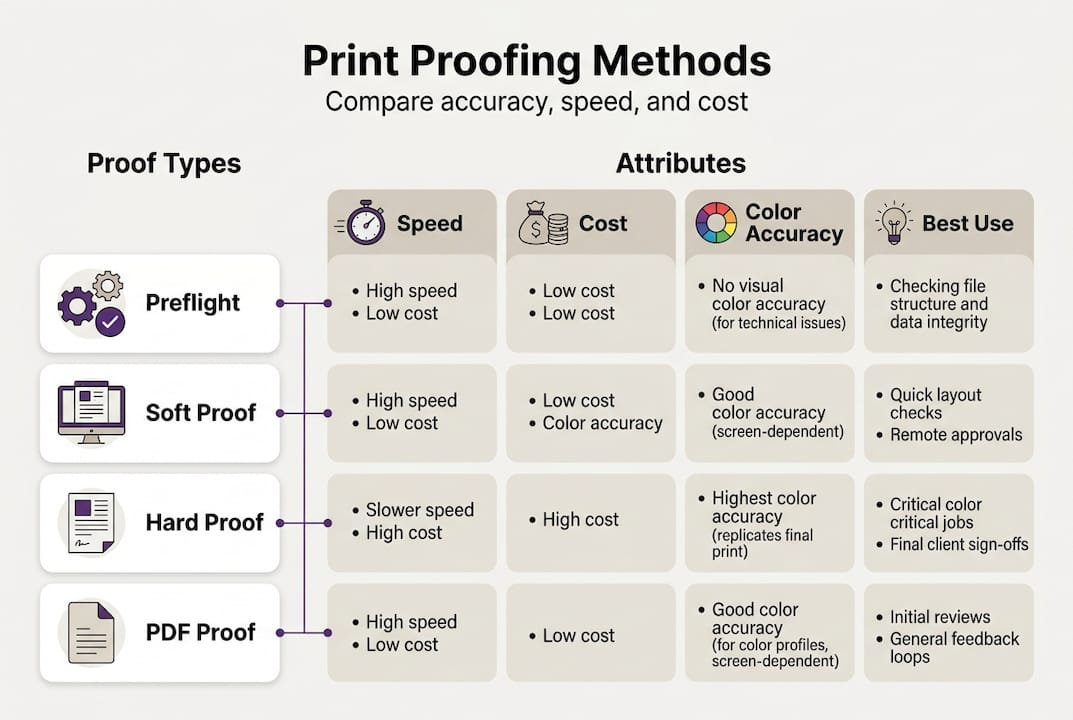
There are three standard approaches to print file proofing. Each has a specific role, and the best workflows use all three at different stages.
1. Preflight checks
Preflight is automated file validation. It scans for fonts, resolution, color mode, bleed, and other technical requirements. Preflight automation catches 30% of common file issues like low resolution and wrong color mode before a human ever reviews the file. It is fast, consistent, and scalable.
2. Soft proofing
Soft proofing is an on-screen preview of how the file will print. It is quick and inexpensive, making it ideal for layout and content review. The limitation is monitor variability. Different screens render color differently, so soft proofs are fast and cheap but inaccurate for color due to monitor variability.

3. Hard proofing
Hard proofing produces a physical sample that simulates the final print. It is the most accurate method for color and material verification. The tradeoff is time and cost. Hard proofs are precise but costly and slower, making them best reserved for high-stakes or color-critical jobs.
4. PDF proofs
PDF proofs are efficient for confirming layout and content but do not guarantee color fidelity. Use them for client sign-off on text and composition, not color accuracy.
| Method | Cost | Color accuracy | Speed | Best for |
|---|---|---|---|---|
| Preflight | Low | Technical only | Very fast | File validation |
| Soft proof | Low | Moderate | Fast | Layout review |
| Hard proof | High | High | Slow | Color-critical jobs |
| PDF proof | Low | Low | Fast | Client content approval |
Pro Tip: Use your file checklist for proofing before sending any file to preflight. Catching obvious issues early saves time in every downstream step. A structured design validation process makes this repeatable across your entire team.
Common challenges and edge cases in print file proofing
Methodology gets you most of the way there. But the real problems hide in edge cases. These are the variables that catch even experienced shops off guard.
Color shifts and metamerism
Color shifts from RGB to CMYK conversion, metamerism (where a color looks different under different light sources), optical brightening agents (OBAs) in paper affecting whites, transparency flattening errors, and total area coverage (TAC) exceeding 300% are all documented proofing hazards. Each one can cause a final print to look nothing like the approved proof.
Metamerism is particularly tricky. A color that matches perfectly under studio lighting can look completely different under fluorescent office lights or natural daylight. If your client is reviewing prints in a different environment than where you proofed them, you may both be right and still disagree.
Substrate differences
Paper stock changes everything. Coated paper produces vibrant, sharp colors. Uncoated stock absorbs ink differently and produces softer, sometimes duller results. A proof made on coated stock will not accurately represent how the job looks on uncoated.
ΔE00 color difference targets
For professional results, aim for an average ΔE00 (a standard measure of color difference) below 2. For color-critical work, keep it below 1.5. These targets give you a measurable benchmark rather than relying on subjective visual judgment.
| Challenge | Risk level | Mitigation |
|---|---|---|
| RGB to CMYK shift | High | Convert early, use ICC profiles |
| Metamerism | Medium | Proof under standard D50 lighting |
| OBA in paper | Medium | Match substrate in proof |
| TAC over 300% | High | Set ink limits in RIP settings |
| Transparency flattening | Medium | Flatten before export |
Pro Tip: Calibrate your monitors and use device-specific color profiles for print to close the gap between screen and press. Consistent monitor calibration is the single fastest way to improve precise color accuracy in your soft proofing workflow.
Integrating AI and automation for faster, foolproof results
AI-driven proofing tools are changing how print shops handle file preparation. Instead of manually checking every file, automation handles the repetitive technical work. Your team focuses on decisions that require experience and judgment.
Here is how a modern AI-powered proofing workflow typically runs:
- File ingest — The system accepts PNG, JPG, PDF, SVG, and other formats, including large files up to 50MB.
- Automated error detection — AI scans for resolution issues, color mode mismatches, missing bleed, font problems, and transparency conflicts.
- Actionable feedback — The system flags specific issues with clear descriptions, not just error codes.
- Automated correction — Where possible, the tool corrects issues automatically (color mode conversion, bleed extension).
- Report generation — A detailed preflight report is produced for both internal review and client communication.
Preflight automation catches 30% of common file issues like low resolution and wrong color mode. That is a significant reduction in manual review time, especially at scale.
Automation also handles variable data jobs and high-volume batches without fatigue. A human reviewer checking 200 files in a day will miss things. An AI system will not.
That said, human oversight remains essential. AI catches technical errors reliably. It does not catch creative or contextual mistakes, like a logo placed too close to a trim edge or a client's brand color that drifted slightly. Building efficient print design workflows means combining automation with expert review, not replacing one with the other. Always verify print output specifications against your press requirements before final approval.
Pro Tip: Set up automated preflight as the first gate in your intake process. Reject files that fail before they enter your production queue. This protects your team's time and sets clear expectations with clients from the start.
Best practices for seamless print file proofing and approval
Even with AI handling the heavy lifting, a structured process is what keeps quality consistent. Here is the step-by-step approach that high-performing shops use.
Step-by-step proofing process:
- Run preflight checks immediately on file receipt.
- Resolve all flagged technical errors before proceeding.
- Generate a soft proof for layout and content review.
- Send a PDF proof to the client for content sign-off.
- Produce a hard proof for color-critical or premium jobs.
- Collect written client approval before going to press.
- Run a final verification check after any client-requested changes.
Before proofing, double-check these items:
- Resolution is 300 DPI or higher at final print size
- Color mode matches press requirements (CMYK for offset, spot colors for screen print)
- Bleed extends at least 0.125 inches beyond the trim line
- All fonts are embedded or outlined
- Transparency is flattened where required
- Linked images are included and at full resolution
After client approval, verify:
- No changes were made to the file post-approval
- The approved file version matches what goes to press
- Approval documentation is saved and linked to the job record
Pro Tip: Get written sign-off on every proof. A PDF approval email is acceptable, but a formal approval form is better. This protects your shop if a client disputes the final output. To avoid print design mistakes that slip through at the last moment, always run a final preflight after any revision, even minor ones.
Calibrate monitors to 6500K and gamma 2.2 and use device-specific ICC profiles to bridge the gap between what you see on screen and what comes off the press. This single step dramatically improves soft proof reliability.
Our take: Why rigorous proofing isn't optional — it's your brand's defense
Here is something the industry does not say loudly enough: proofing is not just a quality control step. It is a business safeguard.
Every reprint you absorb because proofing was rushed is a direct hit to your margin. Every client who receives a job that does not match their expectations is a relationship at risk. These are not abstract risks. They happen every week in shops that treat proofing as a checkbox rather than a discipline.
The rise of automation makes this more important, not less. When AI handles the technical checks, it is easy to assume the process is covered. But automation does not replace accountability. It amplifies it. If your team does not understand what the AI is checking and why, you cannot catch what it misses.
Understanding the role of design files in your broader production workflow helps frame proofing correctly. It is not the end of the design process. It is the beginning of the production commitment. Treat it that way, and your shop builds a reputation for reliability that clients notice and return for.
Rigorous proofing, done consistently, is how you protect your margins, your client relationships, and your brand.
Take the next step: Effortless proofing with LayerPrep
If your current proofing process still relies heavily on manual checks, you are spending time you do not need to spend. LayerPrep automates the technical heavy lifting: color separation, DPI validation, bleed checks, and Pantone matching with 70 to 95% accuracy, all in an average of 30 seconds per file.
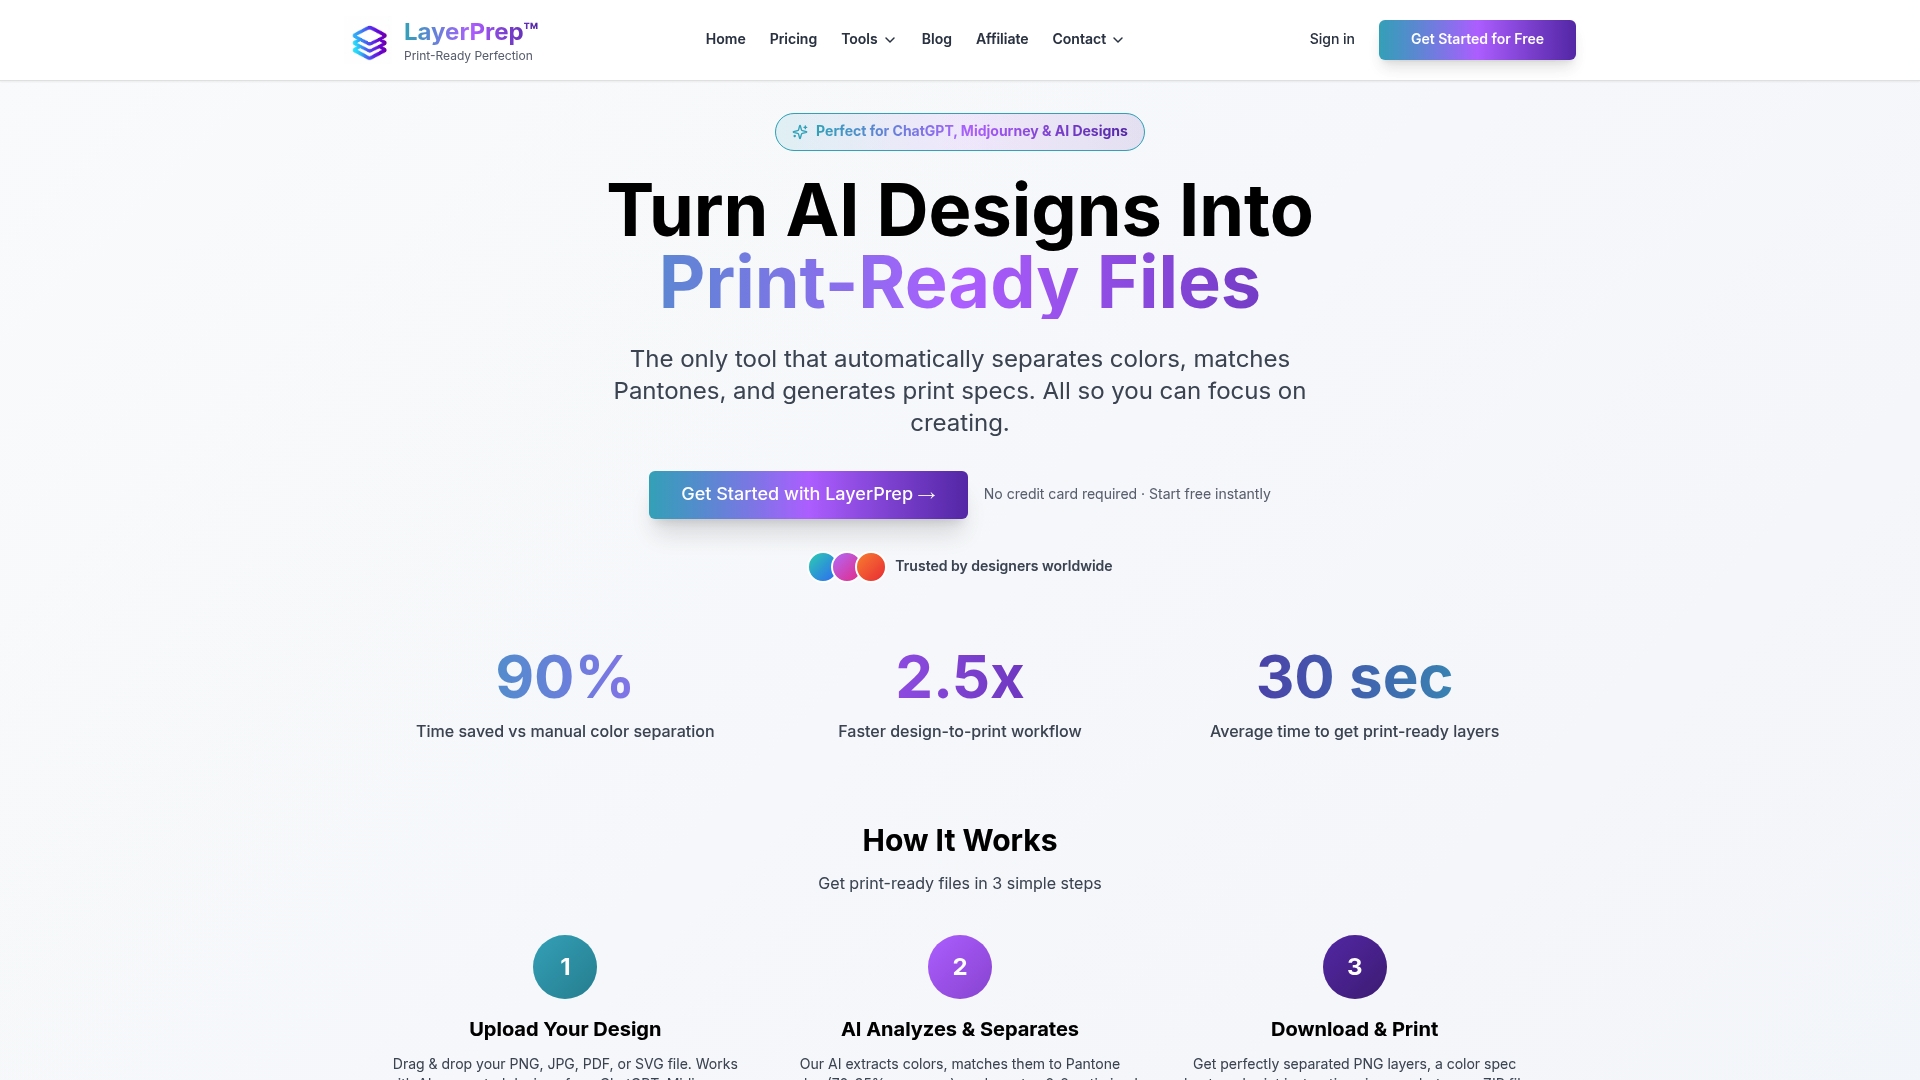
You stay in control. LayerPrep handles the repetitive checks so your team can focus on what actually requires expertise. Whether you are processing AI-generated artwork from Midjourney or traditional client files, LayerPrep print file proofing fits directly into your existing workflow. Start with a plan that fits your volume and see how much faster your approvals move when the technical groundwork is already done.
Frequently asked questions
What are the key steps in print file proofing?
Key steps include preflight checks covering fonts, resolution, color, and bleed, followed by soft or hard proofing, written client approval, and a final verification before going to press.
What is the difference between soft proofing and hard proofing?
Soft proofs are fast and inexpensive but limited in color accuracy due to monitor variability, while hard proofs produce a physical sample that accurately simulates the final print at higher cost and turnaround time.
Why is color management critical in proofing?
Color shifts from RGB to CMYK, metamerism, and substrate differences can all cause the final print to look different from the approved proof, making proper color management essential for consistent results.
How does AI improve print file proofing?
AI-driven preflight catches up to 30% of common file errors automatically, reducing manual review time and flagging issues like low resolution and incorrect color modes before they reach the press.